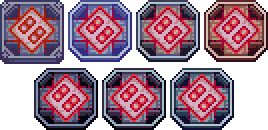
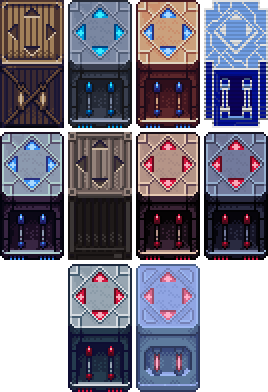
Puzzle Elements: Difference between revisions
Jump to navigation
Jump to search
No edit summary |
No edit summary |
||
| Line 30: | Line 30: | ||
| Linked Switch | | Linked Switch | ||
| Identical in appearance to the basic Switch. All Switches in the group must be hit in a short timespan in order to activate them. | | Identical in appearance to the basic Switch. All Switches in the group must be hit in a short timespan in order to activate them. | ||
|- | |||
| [[File:switch.png|center]] | |||
| Timed Switch | |||
| Identical in appearance to the basic Switch. Only stays active for a short period of time after being hit. | |||
|- | |- | ||
| [[File:enemy_switch.png|center]] | | [[File:enemy_switch.png|center]] | ||
| Line 48: | Line 52: | ||
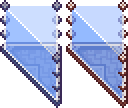
| [[File:blue_wall.png|center]] | | [[File:blue_wall.png|center]] | ||
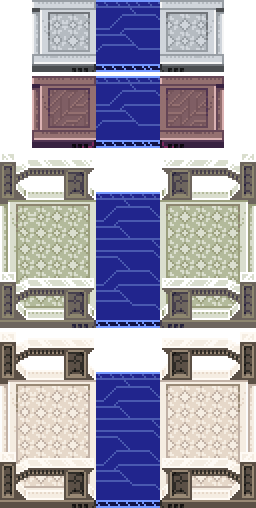
| Blue Wall | | Blue Wall | ||
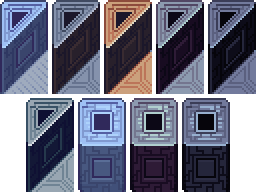
| A wall that can be summoned and removed. | | A wall that can be summoned and removed. It was possible to run along the top of these. | ||
|- | |- | ||
| [[File:orange_wall.png|center]] | | [[File:orange_wall.png|center]] | ||
| Orange Wall | | Orange Wall | ||
| Similar to the Blue Wall, but Balls can pass through an Orange Wall, allowing switches on the other side of it to be activated. | | Similar to the Blue Wall, but Balls can pass through an Orange Wall, allowing switches on the other side of it to be activated. | ||
|- | |||
| [[File:access_wall.png|center]] | |||
| Access Wall | |||
| A wall that selectively allows people through, and throws back the unauthorized. | |||
|- | |- | ||
| [[File:vert_moving_block.png|center]] | | [[File:vert_moving_block.png|center]] | ||
| Line 65: | Line 73: | ||
| Moving Platform | | Moving Platform | ||
| A platform that moves along a predefined path. May be stopped or started by switches. | | A platform that moves along a predefined path. May be stopped or started by switches. | ||
|- | |||
| [[File:laser_causeway.png|center]] | |||
| Laser Causeway | |||
| A small laser bridge that can be summoned and removed by switches. | |||
|- | |- | ||
| [[File:sinking_platform.png|center]] | | [[File:sinking_platform.png|center]] | ||
| Sinking Platform | | Sinking Platform | ||
| A platform that moves down half a level when a Push Block is placed on top of it. | | A platform that moves down half a level when a Push Block is placed on top of it. No longer seen as of v0.3.0. | ||
|- | |- | ||
| [[File:jump_panel.png|center]] | | [[File:jump_panel.png|center]] | ||
| Jump Panel | | Jump Panel | ||
| Propels anyone standing on it to the top of the adjacent cliff. May be activated by switches. | | Propels anyone standing on it to the top of the adjacent cliff. May be activated by switches. | ||
|} | |||
==Transportation Features== | |||
{| class="wikitable" | |||
|- | |||
! !! Name !! Description | |||
|- | |||
| [[File:teleport_panel.png|center]] | |||
| Teleport | |||
| A panel that teleports you to a predetermined location when you step on and activate it. | |||
|- | |||
| [[File:sky_rail_panel.png|center]] | |||
| Sky Rail | |||
| Carries users to a location on another map. | |||
|- | |||
| [[File:landmark_panel.png|center]] | |||
| Landmark | |||
| A location that you can teleport to from anywhere, once it is discovered. | |||
|} | |||
==Conditional Destructibles== | |||
{| class="wikitable" | |||
|- | |||
! !! Name !! Description | |||
|- | |||
| [[File:armored-crate-sprite.png|center]] | |||
| Armored Crate | |||
| Can only be destroyed from the unarmored side. | |||
|- | |||
| [[File:ice-wall.png|center]] | |||
| Ice Wall | |||
| Can only be destroyed with Heat-elemental attacks. | |||
|} | |} | ||
| Line 88: | Line 132: | ||
| Enemy Counter | | Enemy Counter | ||
| A panel in the floor that activates a switch effect when the displayed number of enemies are defeated. Some of them cause new enemies to spawn on reaching predefined thresholds, allowing for gauntlet-type challenges. | | A panel in the floor that activates a switch effect when the displayed number of enemies are defeated. Some of them cause new enemies to spawn on reaching predefined thresholds, allowing for gauntlet-type challenges. | ||
|- | |- | ||
| [[File:ball_redirector.png|center]] | | [[File:ball_redirector.png|center]] | ||
| Ball Redirector | | Ball Redirector | ||
| These devices change the direction of travel of any Balls that pass through them. | | These devices change the direction of travel of any Balls that pass through them. | ||
|- | |||
| [[File:push_block.png|center]] | |||
| Push Block | |||
| A large block that can be directly interacted with to push or pull it in a straight line. No longer seen as of v0.3.0. | |||
|- | |- | ||
| [[File:repeater_turret.png|center]] | | [[File:repeater_turret.png|center]] | ||
Revision as of 04:48, 11 November 2015
This page contains details on the interactive and puzzle features found in CrossCode.
Switches
| Name | Description | |
|---|---|---|
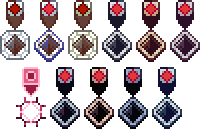 |
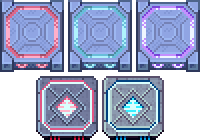
Switch | The basic switch. Must be hit with a Ball or Melee attack to activate. |
 |
Multi-hit Switch | This switch must be hit several times in quick succession to activate. Charged Balls are not fast enough, so it can't be activated from around a corner. |
 |
Two-position Switch | This switch has two settings, and toggles back and forth between them with each hit. |
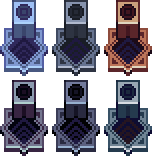 |
Bounce Switch | To activate this switch, it must be hit by a Charged Ball that has already hit all associated bounce blocks. |
 |
Bounce Block | Associated with a bounce switch. All must be hit by the same Charged Ball as the bounce switch for it to activate. |
 |
Linked Switch | Identical in appearance to the basic Switch. All Switches in the group must be hit in a short timespan in order to activate them. |
 |
Timed Switch | Identical in appearance to the basic Switch. Only stays active for a short period of time after being hit. |
| Enemy Switch | Only seen in the TechDemo. This switch must be hit by an enemy projectile to activate. Miniturrets and Repeater Turrets are known to work with it. |
Environment Features
Transportation Features
Conditional Destructibles
| Name | Description | |
|---|---|---|
| Armored Crate | Can only be destroyed from the unarmored side. | |
| Ice Wall | Can only be destroyed with Heat-elemental attacks. |

